Are you dealing with a wood rot problem in your deck?
Wood rot left untreated can quickly spread and weaken the structural integrity of your deck. This article will provide insights into repairing wood rot as well as how to identify and prevent rotting issues on your deck.
After going through these steps, you will be able to figure out what tools are required for the wood repair job and how long it will take to complete the repairs. Get ready to save time and money by properly repairing rotted wood–read on!

- Use a screwdriver test to check for softness or sponginess in the wood. Look for signs such as discolored areas, crumbling surfaces, and decay spots.
- Steps for repairing wood rot include removing rotten boards, treating remaining wood with a preservative, filling gaps with epoxy filler, and sanding and painting or staining the repaired area.
- Regularly inspect and maintain the deck, keep it clean and free from debris, ensure proper drainage and ventilation, apply protective sealant or waterproofing treatment, and consider using rot-resistant materials in future deck construction.
Identifying Wood Rot in a Deck
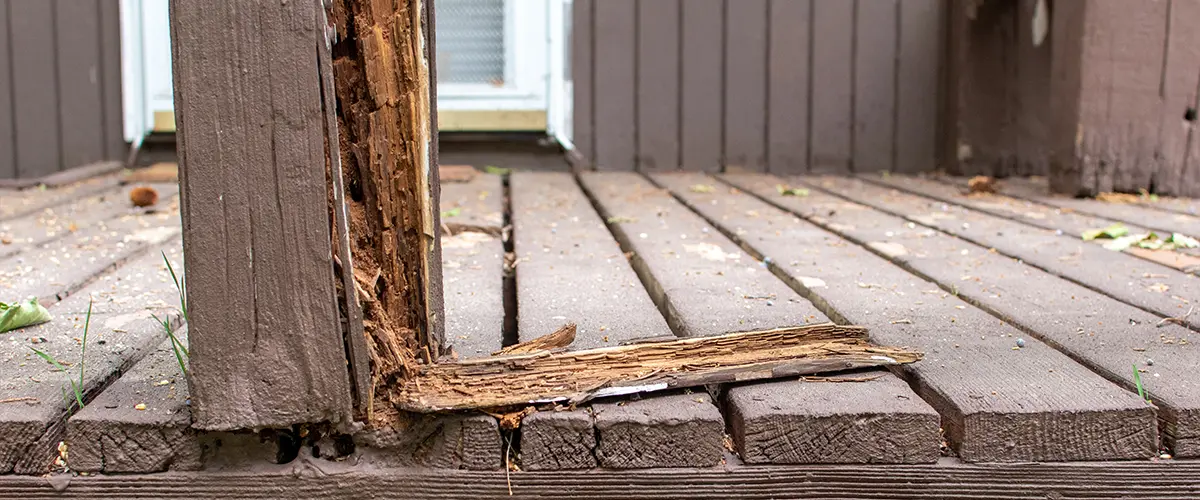
To determine if wood rot is present, use a carbon steel screwdriver to test the surface for softness or sponginess. Common signs of rotten wood include discolored areas, crumbling surfaces, and decay spots.
- The Screwdriver Test
The screwdriver test is an essential tool for identifying wood rot in a deck. This involves running the tip of a flat blade screwdriver over areas suspected of being affected by decay to check for soft or weakened spots.
The presence of such indicators suggests that the timber may have been eaten away, which requires repair or replacement. As dry and wet rot are both common types of decay, carrying out this procedure can be especially helpful when attempting to detect them pre-emptively and seeking professional help before further damage occurs.
Therefore, it is important to detect any signs easily with the use of a simple tool like a screwdriver and take appropriate steps while ensuring structural integrity remains intact for long-lasting decks at home!
- Common Signs Of Rotten Wood
Homeowners should routinely look out for signs of wood rot in their decks, as it can spread quickly and weaken various pieces of wood if left unaddressed. One way to check for floor rot is with the “screwdriver test”; any area that sinks in with little or no resistance could have developed a form of decay.
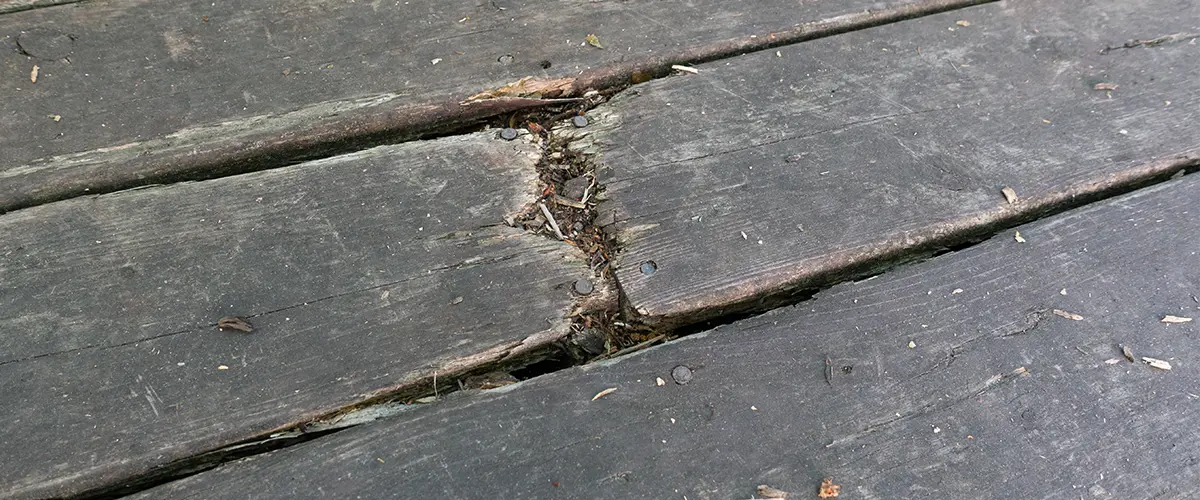
Other indicators may include swollen sections, sudden discoloration, crumbly edges, mold-like formations present on the surface, dark spots or blemishes scattered near weakened boards, and warped planks that easily give away under weight or pressure.
Additionally, rotting wood may also be identified by distinct smells such as musty scent and fungus growth along the underside floorboards or surrounding areas. Although other materials used to build decking (such as nails) can also cause some similar signs of decay due to rust damage over time, proper maintenance and inspection are necessary to ensure structural integrity is maintained all year round.
Repairing Wood Rot in a Deck Step-by-Step
- Remove Rotten Boards
- Inspect the deck for broken, cracked, or rotting boards by using a putty knife, screwdriver, window frame, and paint scraper.
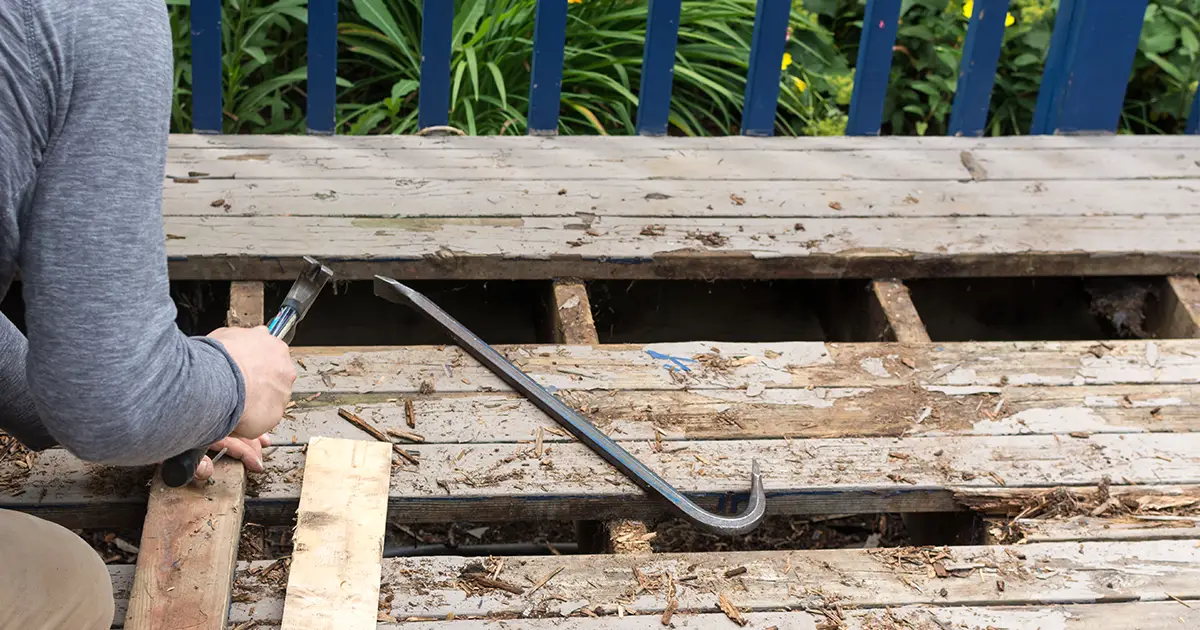
- If you find any rotten sections of the board on the deck, use a pry bar to carefully remove it from its joists.
- Protect yourself with gloves and safety glasses as you chip away at soft wood near the joist that is holding up your repair area (or whatever holds up any loose rot).
- Use a claw hammer to pull nails out if necessary to completely remove the damaged decking boards, being careful not to damage or disturb surrounding wood in doing so.
- Once all rotten wood has been removed from around your repair area, it is important to treat the exposed wood with one part polyester filler and two parts epoxy consolidant mixed together according to package directions with an old plastic container or wooden stick. Follow all safety instructions provided by filler manufacturers when mixing these products! This will help protect against future rot while hardening your new lumber structure stronger than the original strength for added longevity!

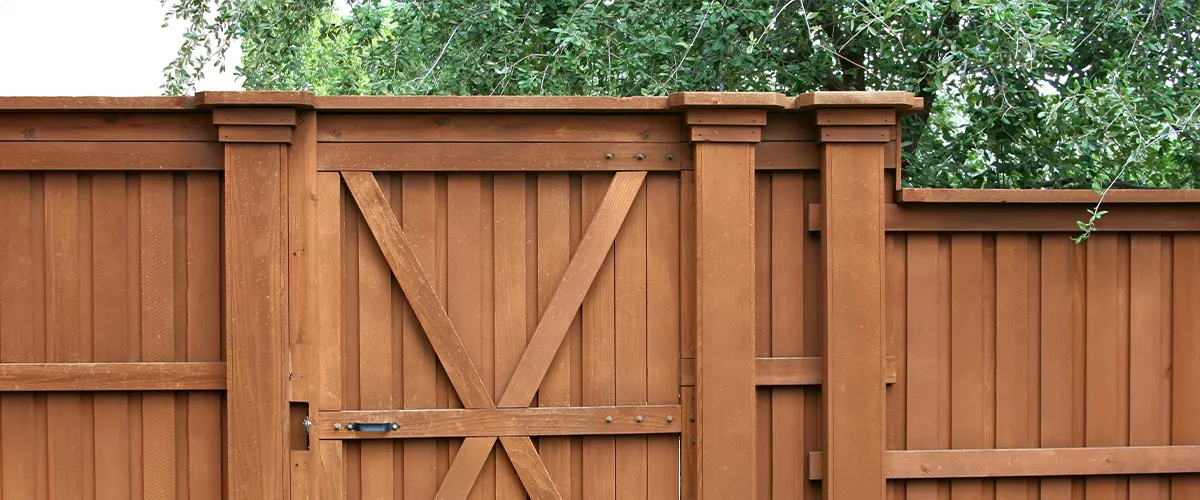
If you want to ensure your fence will last for a long time, work with a top-tier contractor and let them work their magic! At Burgess Construction, our priorities remain you, your loved ones, and your needs.
- Treat Remaining Wood With A Wood Preservative
When repairing wood rot in a deck, it is critical to treat all remaining wood with a wood preservative, as forgotten pieces of untreated wood could become prone to further damage. Wood preservatives are chemical compounds that penetrate the surface of the board and protect the structure from fungal decay and insect attack.
Their active ingredients may contain copper or zinc employed in either an oil-soluble or water-soluble formulation. With regular application, these types of chemicals serve to retard future issues with rotting wood while sealing away moisture and substances that degrade boards over time.
They also provide extra support for structural integrity in otherwise compromised pieces of timber while creating barriers against fungal growth, reducing rot damage caused by fungi like termites and carpenter ants present within your deck’s outdoor environment.
- Fill In Gaps And Cracks With An Epoxy Wood Filler
- This thick liquid formula allows easy application with either a brush or spatula and quickly sets, forming the shape of surrounding wood before drying to form a solid bond with the damaged area.
- To get started on your project, you will need an appropriate tool such as a putty knife or paint scraper; a clean plastic container; a quality epoxy product like Abatron Epoxy Wood Filler or LiquidWood; latex gloves; chip brush; sanding block, and a matching paintbrush if needed.
- Once mixed properly, apply the first layer of the product onto wood affected by rot according to the directions on the package, then fill any remaining gaps with additional coatings until the desired result is achieved.

- Sand And Paint Or Stain The Repaired Area
Sanding is an important step in repairing wood rot as it helps to level the area and gets rid of any leftover dirt or debris, ensuring a smooth surface once you’re done. To properly sand and paint or stain a repaired area:
- Using either an orbital sander or sandpaper, lightly sand along the edges of the repaired area to create a uniform indentation level with surrounding areas.
- Once finished with sanding, use a damp cloth to wipe down the entire area thoroughly. Ensure that all dust particles are cleared from the board completely before proceeding forward with painting/staining.
- Continue by applying one coat of wood primer followed by two coats of exterior paint or three coats of exterior deck stain (including sealer). Make sure that each coat is allowed time to dry prior to adding any additional layers overtop and allow for at least 24-48 hours drying time before using furniture on newly coated surfaces together again after reassembling them back together, ready for their next summer season outdoors again.
Preventing Wood Rot in a Deck
- Regularly Inspect And Maintain The Deck
It is essential to regularly inspect and maintain a deck to prevent wood rot and damage. Start by cleaning the deck on a regular basis: sweep away leaves or debris as soon as possible, use a pressure washer for deeper cleaning needs, and also be sure to check for signs of wear or rotting wood.
Catching problems early can make them easier to fix; so look closely at boards, posts, and railings – if there are any signs of soft spots, crumbling edges, or discoloration, those could be indications of wood rot.
Take action quickly when needed: remove rotted boards using appropriate tools such as a 5-in-1 rasp, chisel, or claw hammer; replace deteriorated joists; apply borate treatment to protect against future decay; consult with professionals about different types of products that might offer extra protection from water penetrating into your decking materials, etc. Listen for squeaks which may result from loose fasteners which need tightening up immediately before they cause bigger issues.
Cover all exposed surfaces with waterproofing coatings if you plan on extending the lifespan of your outdoor timber structures beyond its intended design period.
- Keep The Deck Clean And Free From Debris
Regular cleaning and inspection of a deck are important parts of maintaining it over the long term. Leaves, dirt, and other debris that accumulates on the surface can lead to wood rot in the underlying structure due to moisture problems.
Keeping your wooden deck clean should be an integral part of any regular maintenance schedule. To help reduce exposure to moisture, consider applying a waterproof sealant onto the boards which will prevent any potential damage caused by rain or snow.
Additionally, use a quality cleaner regularly to remove built-up dirt from in between boards or railings; doing so helps with airflow, which further prevents wood decay. Taking these simple steps can help preserve your deck for many years and save you money on costly repairs caused by rotting wood in the future!
- Ensure Proper Drainage And Ventilation
It is essential to have proper drainage and ventilation in preventing wood rot in a deck. Water accumulation is one of the most common causes of wood rot, as dampness can easily seep into the boards or posts and start rotting.
In addition, improper airflow around a deck can cause moisture to collect underneath it, which again will expedite wood decay. Homeowners should ensure water cannot accumulate under their decks by making sure that any puddles are promptly removed and checking for areas that might get flooded after it rains.
Additionally, good airflow is essential; vents need to be placed near joists so air properly circulates throughout the area. Finally, keeping leaves or dirt off the surface of your deck. Cutting back trees to prevent too much shade will significantly reduce the chances of rot ever appearing on your wooden structure.
- Apply A Protective Sealant Or Waterproofing Treatment
Applying a protective sealant or waterproofing treatment is an important step in preventing wood rot on a deck. A sealant or waterproofing treatment helps protect decks from moisture absorption, which can cause swelling, cracking, warping, and bending.
Furthermore, these treatments also help to extend the lifespan of a deck by protecting it from the elements and reducing the risk of rot occurring over time. These types of treatments require minimal effort to keep up with but can deliver big rewards: saving homeowners from costly repairs down the road due to rotting wood and increasing durability.
- Consider Using Rot-Resistant Materials In Future Deck Construction
The use of rot-resistant materials such as cedar, redwood, mahogany, and cypress is key to ensuring that your deck will last longer and maintain a good appearance over time. These types of woods are far less likely to succumb to wood rot than traditional lumber choices like spruce or pine, due to their natural resistance against moisture damage.
Pressure-treated wood can also protect against rotting wood if chosen carefully for outdoor use. Additionally, decks made out of composite materials can be resistant to decay and insects without the need for sealants or weatherproofing treatments.
No matter which type of material you choose for your deck construction project, be sure you take proper care and maintenance steps so it continues looking great years down the road!
FAQs

Conclusion
Thanks to our extensive deck repair services in The Pacific Northwest, you won’t have to worry about rotten decks ever again. Call us at (425) 791-5281 and see how and why Burgess Construction is the premium local deck building company that homeowners like you have grown to love.
